Hi, folks!
This is not so much an actual recipe as it is an idea or a technique. Credit here goes to Dave Hambleton, the manager of Sisters Hill Farm where John and I both apprenticed. What follows is a photo-illustrated write-up of how one might use a salad spinner to help manage one’s salad greens throughout the week.
Here goes:
Ingredients
How It Works
So you just got home from your latest bountiful CSA distribution, and, as is often the case, you have a goodly quantity of salad greens to use as the base of your salads throughout the coming week. All well and good, but you know that there will be times later in the week when you want a fresh, luscious salad RIGHT NOW! without doing all the fussy handwork to create one. What about that little situation? Not to worry — with a salad spinner and 5 minutes spent now, you can set yourself up for several quick salads later.
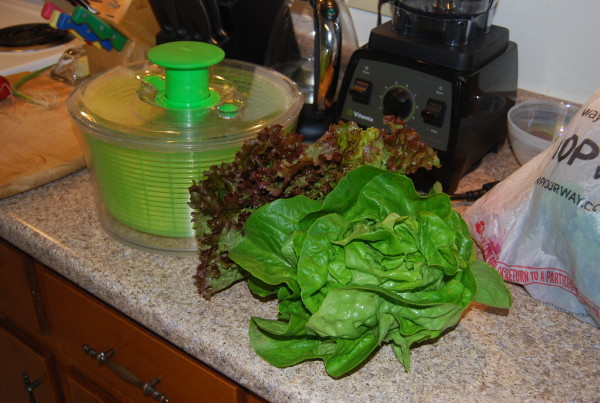
Here’s what I like to do sometimes set myself up for salad happiness. I’ll work with two heads of lettuce for my example:
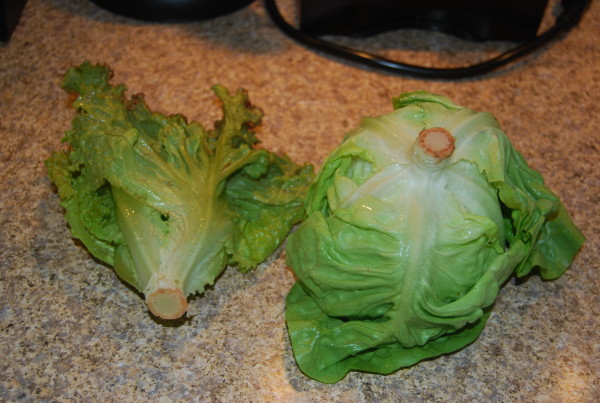
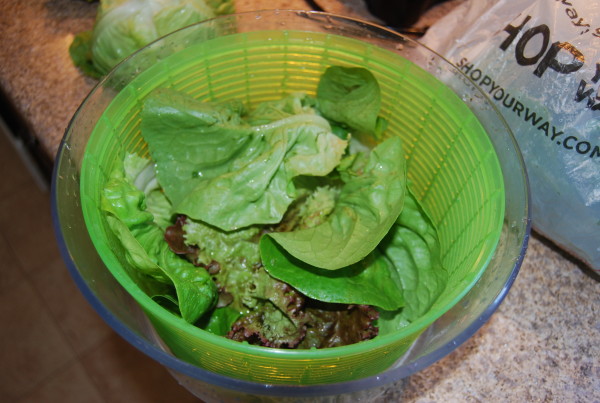
Take the lid off your salad spinner and take out the basket. Next, work from the bottom of your heads of lettuce, and tear off enough leaves to loosely fill the big outer bowl of the salad spinner. I’m using about half of each head of lettuce here, since I want a mixture of red and green leaves. What you’ll have leftover is the heart of each head of lettuce. Those will store longer in this intact form than they would if you had chopped them or tore them up. Put those lettuce hearts back in the fridge in the plastic bag. My leftover lettuce hearts are show below. I’ll do this same process to them later, once I’ve eaten the first salad spinner’s worth of lettuce.
Now fill your salad spinner’s bowl up with cold water.
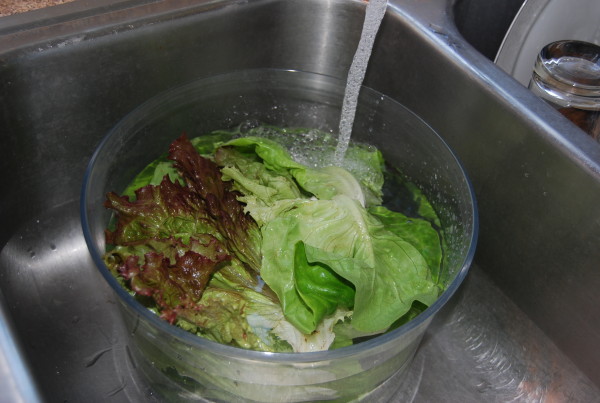
Here’s the washing part. Start washing the lettuce by gently pushing them down into the water bath repeatedly — sort of the same motion as a cat kneading a sofa where it’s about to curl up. That gets the loose dirt off.
Next, if there’s stubborn dirt on the ribs of the leaves, rub it off with your thumb.
[Tangent: A few people asked me at distribution yesterday how we were affected by the hard rains we got last week. Our soil is very fast-draining, so heavy rains don’t hurt us as much as they do many other farms. However, this is one good example of how hard rains do affect us: Pounding rains splash a lot of soil up onto/into the leaves of our plants. This gets more dirt into the heads of crops like lettuce and bok choy. Sometimes that just makes it take longer for you to wash; other times that leaf-to-soil contact is how a soil-bourne fungus is able to start attacking the leaf and rotting it. This is one major reason that we’d rather receive gentle rains.]
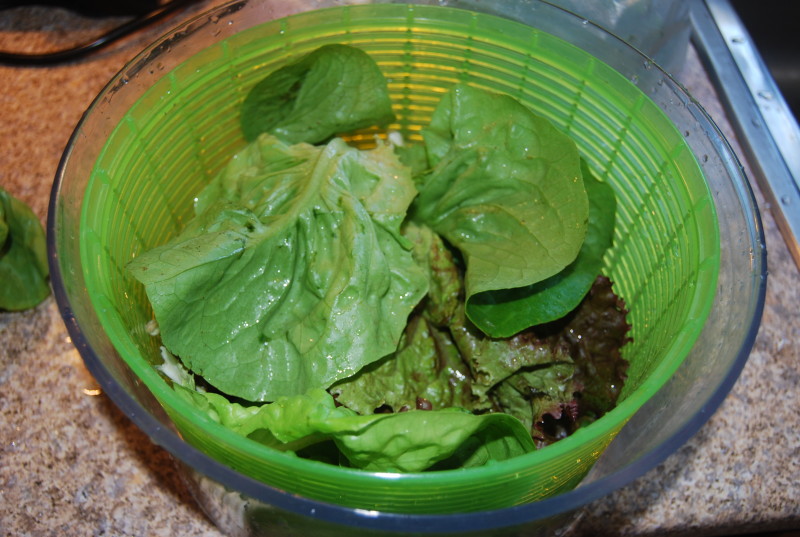
Once you’ve got all your leaves shiny clean, pour everything into the basket of the salad spinner and … give it a spin! Here’s my spinner with the lid off:
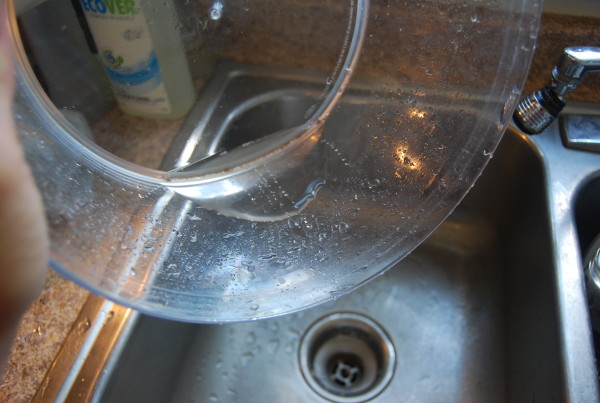
Now pour out the water that’s left in the bottom of the salad spinner’s bowl.
At this point, you’re basically done. You can store the entire salad spinner in the fridge for a few days. When the need for salad strikes you, pull it out and tear up as much salad greens as you need before putting it back in the fridge.
In my case, this evening’s version looked like this:

All you need now is a steady stash of salad dressings. We’ll be looking at that piece of the puzzle in a few of our upcoming recipes!
2 thoughts on “Celebrating the Salad Spinner”